
快速入门
本篇将一步步搭建一个salak应用,让你对salak有一个初步的了解
环境准备
- 操作系统:支持Mac、Linux以及Windows
- 运行环境:node > 7.6
脚手架快速搭建
为了快速搭建项目,开发了脚手架salak-cli
安装脚手架
$ npm install -g salak-cli
创建项目
以simple模板为例
$ salak-init simple demo
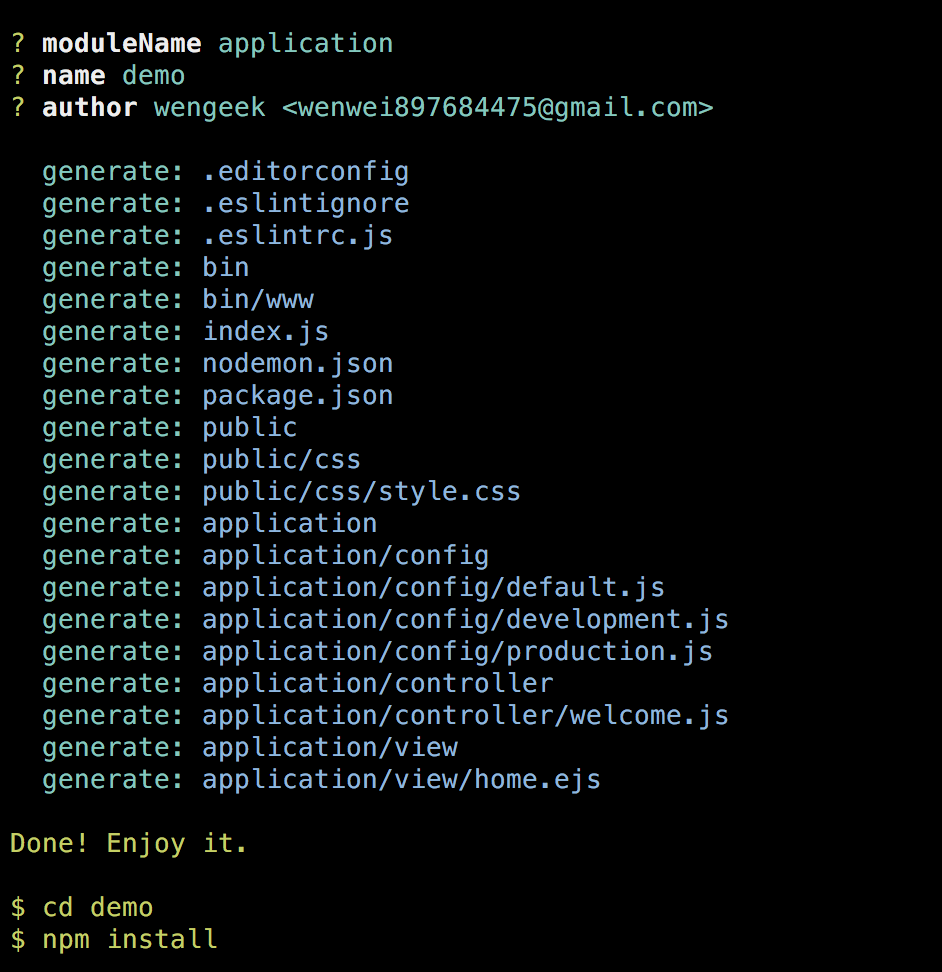
安装依赖并启动
$ cd demo
$ npm install
$ npm start
至此,项目就可以跑起来了。
接下来,我们不使用脚手架,一步一步搭建项目:
初始化项目
$ mkdir salak-example
$ cd salak-example
$ npm init
$ npm i --save salak
编写主入口文件
创建index.js
$ vi index.js
$ mkdir application
const Salak = require('salak')
const app = new Salak({
  baseDir: __dirname,
  opts: {
    root: 'application'
  }
})

app.run(3000)
配置文件
$ mkdir application/config
$ cd application/config
$ vi default.js
module.exports = {
  swagger: {
    spec: {
      info: {
        title: 'Example',
        description: 'description for example',
        version: '1.0.0'
      }
    }
  }
}
编写控制器
$ cd ..
$ mkdir controller
$ cd controller
$ vi test.js
const { Controller } = require('salak')

class Test extends Controller {
  actionIndex () {
    this.sendJson(0, 'ok', {
      id: this.query.id || 'unknow'
    })
  }
}

module.exports = Test
编写Behavior
$ cd ..
$ mkdir behavior
$ vi test.js
const { Behavior } = require('salak')

class Test extends Behavior {
  actionIndex () {
    return {
      meta: {
        summary: '测试接口',
        description: '第一个应用接口'
      },
      validate: {
        query: {
          id: Joi.number().description('标示')
        }
      }
    }
  }
}
启动服务
$ cd ../..
$ node index
可以访问 http://localhost:3000/test 看到具体的数据
如果访问 http://localhost:3000/test?id=error 将会显示具体的错误信息
文档访问 http://localhost:3000/api-docs 可以看到具体的接口详情